Sketching and extruding shapes
Computer-Aided Design (CAD) with Onshape
🕑 This lesson will take about 12 minutes
In this lesson, you will learn how to create and extrude sketches in Onshape. Extruding a sketch allows us to create 3D objects from 2D shapes by pushing or pulling the sketch in a specified direction.
To begin, we will start by creating a new document in Onshape and drawing a simple 2D shape using the sketch tools. This can be a geometric shape, such as a circle or rectangle, or a more complex shape that you create using the line, arc, and spline tools. Next, we will select the extrude tool and specify the direction and distance that we want to extrude the sketch. This will create a 3D object with the shape of our 2D sketch.
Once we have extruded our sketch, we can use the move, rotate, and scale tools to adjust the position and orientation of the 3D object in the 3D space. After we have positioned our 3D object, we can use the solid modeling tools in Onshape to add details and features to it, such as holes, fillets, and chamfers.
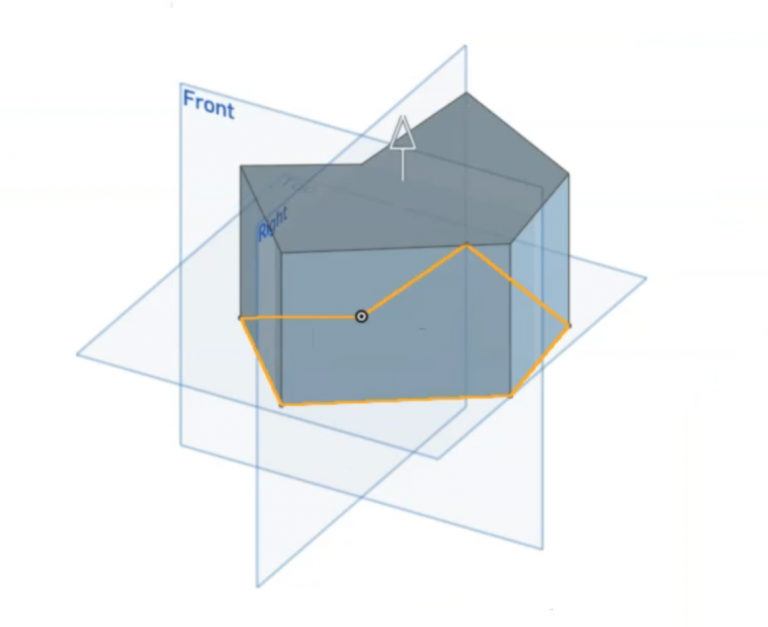
In the example below, a 2D sketch was created using the Line tool, and then the Extrude tool was used to turn the sketch into a 3D model by pulling the 2D profile sketch.
Watch the video below to see how to sketch and extrude, and then try it out yourself.
Is YouTube blocked at your school? You can also watch the video here.
Next lesson: Selecting and deleting mistakes