Using the Rib tool in Onshape
Computer-Aided Design (CAD) with Onshape
🕑 This lesson will take about 4 minutes
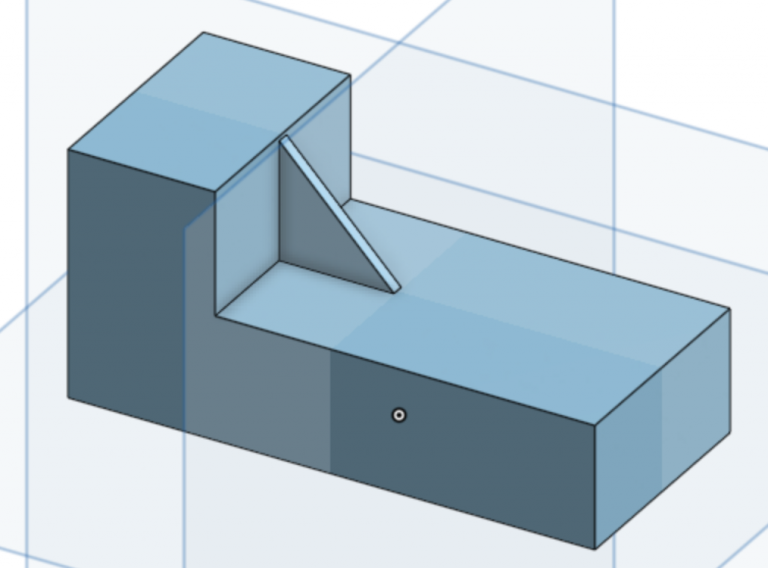
In this lesson, you will learn how to use the Rib tool in Onshape. This tool allows us to add ribs or reinforcing strips and structural supports to the faces of a 3D object, increasing its strength and stiffness.
To begin, we will start by creating a new document in Onshape and drawing a simple 3D object using the sketch and extrude tools. This object should have at least one face that we can add ribs to using the Rib tool.
Next, we will select the Rib tool and specify the face that we want to add ribs to, as well as the spacing, thickness, and orientation of the ribs. We can preview the resulting ribbed face and make any necessary adjustments to the rib properties or the position of the ribs.
Watch the video below to learn how to use the Rib tool.
Is YouTube blocked at your school? You can also watch the video here.
Next lesson: Removing surfaces with the Shell tool